How To Tamp Coffee – Barista Tips
Tamping coffee is an integral step in making quality coffee, the only issue is how to go about tamping correctly!
Before we begin, you might not know why tamping coffee is so important.
It’s important to understand that water flows around the coffee in the group handle during the brewing process, if too compact, the coffee will not be extracted well, if under-compacted then we can end up with a watery cup.
So as masters of coffee, we have decided to show you how to tamp coffee correctly!
Unfortunately for the most part, tamping is not really done correctly, we understand that it can be a subjective aspect of making coffee if you regularly prepare it yourself.
So we have an almost flawless method to help you achieve the perfect tamp almost every single time, just remember that this can take a little practice to perfect — like almost all aspects of coffee creation!
By tamping right every time the water — which is at a pressure of 8-10 bar when leaving the brew group — will always try to find the path of least resistance. This is what causes a watery brew if you don’t tamp correctly.
This is why uniform tamping is so important!
Now we understand the mechanics of the tamp, we can proceed, here’s how to tamp coffee correctly:
How to tamp coffee
1 – Make sure you start with good, fresh coffee beans!
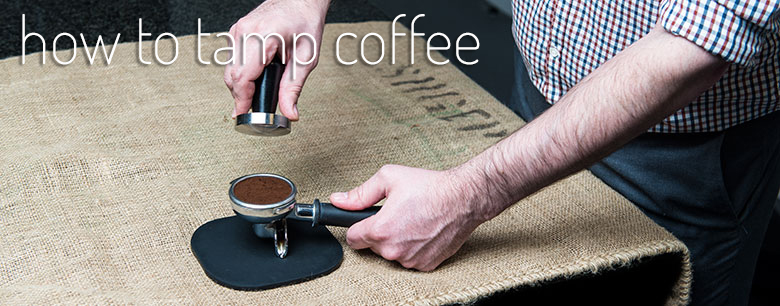
2 – Grind 7 grams of coffee, 14 grams for a double, into your group handle and give the handle a light shake to even the ground coffee out.
3 – With a slightly curled finger spread the grounds out, they should be level with the top of the handle’s basket.
4 – For a first tamp apply a light pressure, approximately 5lbs*, to form a puck shape with the coffee grounds.
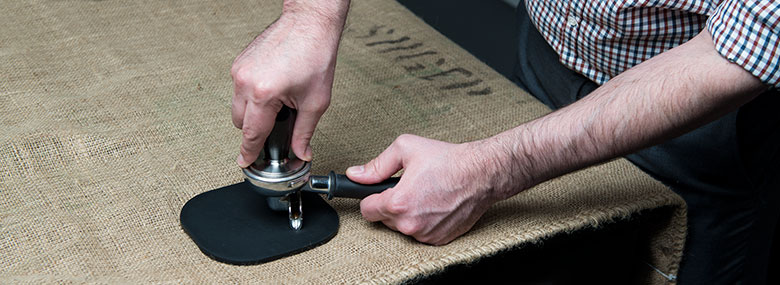
5 – The final tamp should be around 30lbs*, which will produce a compact puck for the water to evenly filter through.
6 – While still applying pressure, rotate the tamper through 720° to leave a smooth even top to the compacted coffee.
7 – Check the puck is smooth and level. If there is any cracks or if it lopsided the water will flow through it quickly leaving a bitter taste.
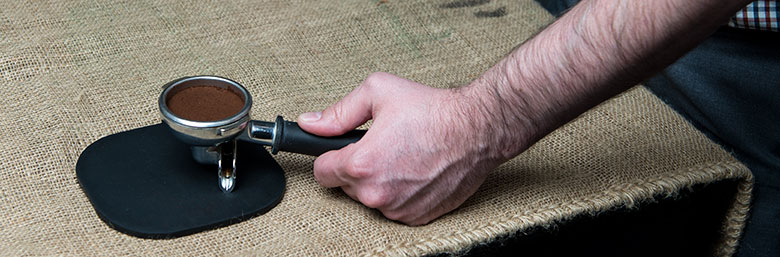
8 – Once you are happy with the puck, place the group handle in your coffee machine and make your espresso.
9 – The whole process should not take any longer than 30 seconds, so keep practicing to get it right.
Now you’ve managed to learn the art of tamping, the best thing is to put this lesson into practice. Just give a little tamp and grind and you’ll have the technique mastered in no-time.
*A good way to learn how to apply the right amount of pressure, is to practice on a bathroom scale.